Outdoor Gear Reviews, Tips & Adventure Stories to Inspire an Outdoor Life

Month: April 2022

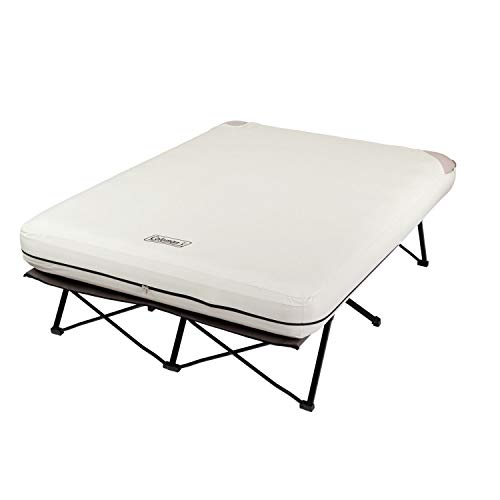
Review: Coleman Queen Airbed Cot

We’re always looking for ways to help people outdoors. Rough sleep is a major consideration (and concern) for many to stay at home. Our Coleman Queen Airbed Cot review presents a great option to make camping more comfortable and enjoyable.

Coleman Queen Airbed Cot
The Coleman Queen Airbed Cot makes sleeping in your tent feel more like sleeping at home.

The Verdict:

If you have the room in your vehicle (and in your tent), the Coleman Queen Airbed Cot can turn camping into glamping with a single purchase. It’s comfortable, durable, and can double as a spare bed for house guests. It’s not for everyone, but for those looking for motivation to get outdoors, this airbed can make the experience more comfortable and luxurious. The best amenity this cot provides is the ability to sleep comfortably alongside your partner – making it feel more like home.

Specs & Features:

  • Dimensions: 78″ x 59″ x 22″
  • Supports up to 600 lbs
  • Folding Steel frame
  • 22″ bed height
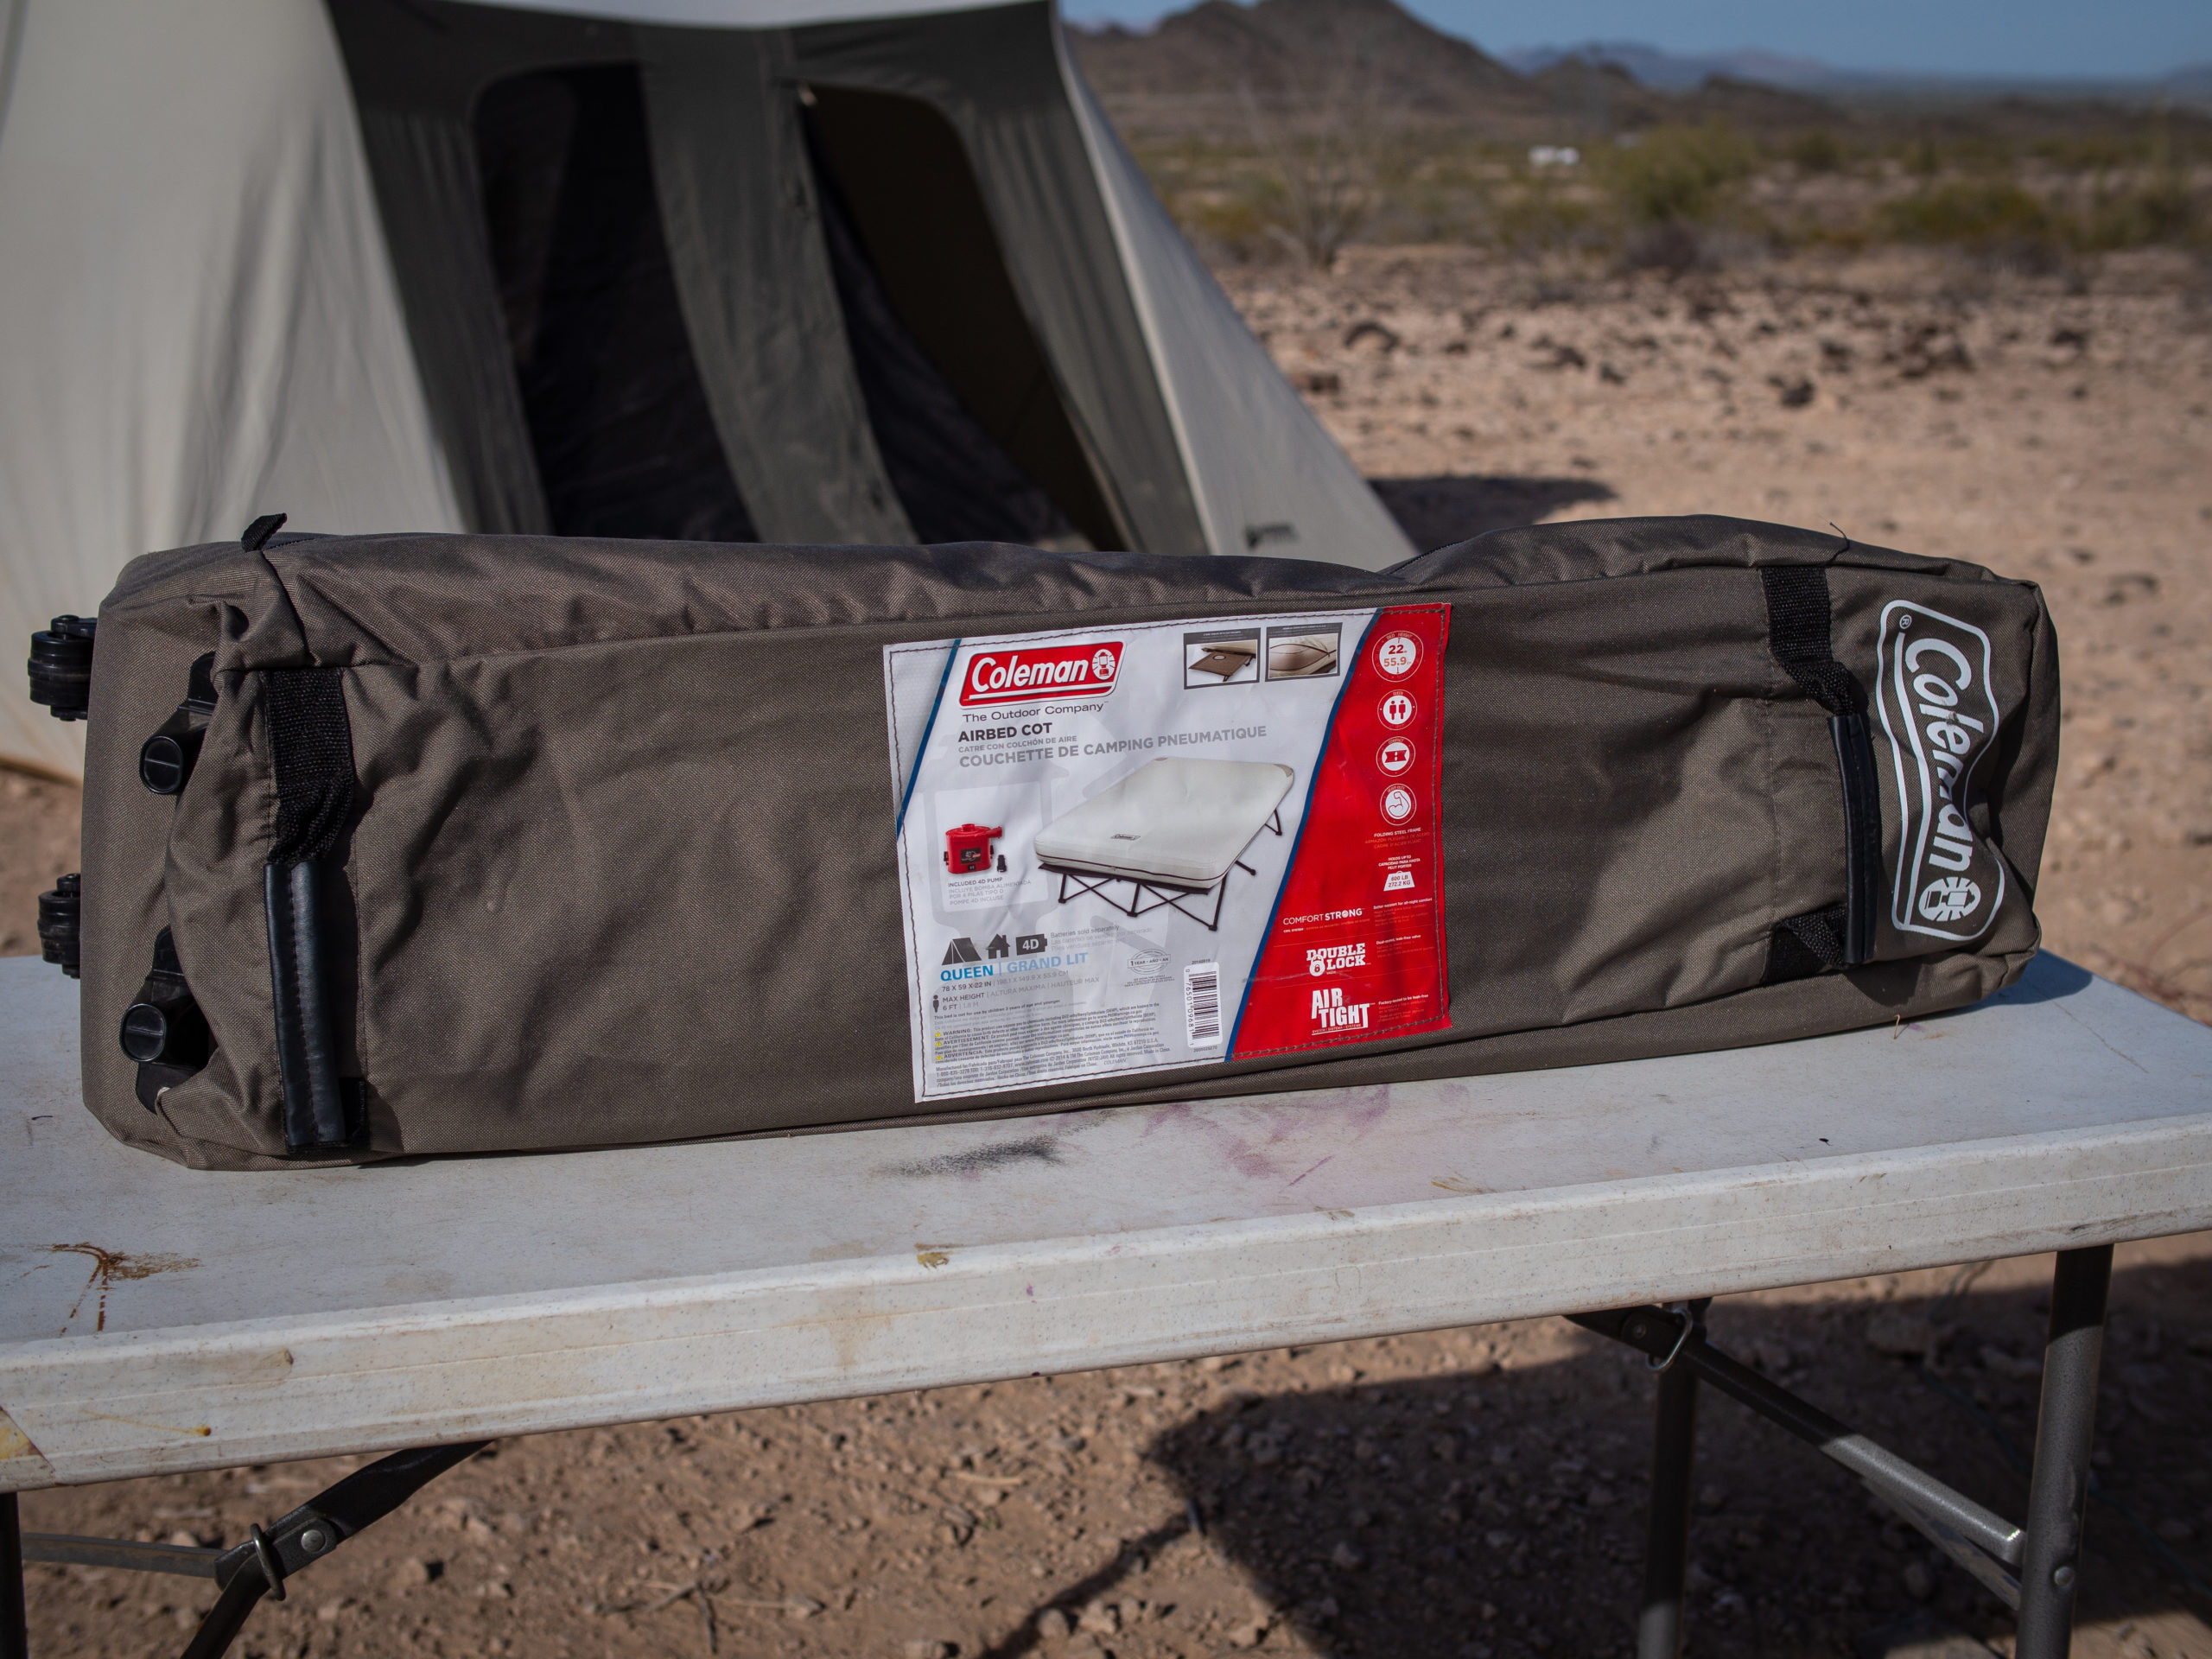
  • carrying bag included
  • includes 2 side tables with cup holders
  • includes a battery-powered pump for mattress inflation
  • weighs 22.5 lbs.

Purchase the Coleman Queen Airbed Cot on Amazon

Packing Size:

The Coleman Queen Airbed Cot comes with a convenient carrying bag.  Stored in the bag, it resembles a pop-up canopy in size and packing dimensions.  The bag with the bed inside is approximately 37 in. long, 10 in. tall, and 7 in. wide.  Being that this cot is essentially a queen bed on a folding platform, it does take up significant packing space when headed out to camp.  Depending on what else is on your packing list, you may not have room for such a large luxury if you are in a smaller vehicle.

Coleman Queen Airbed Cot Carrying bag

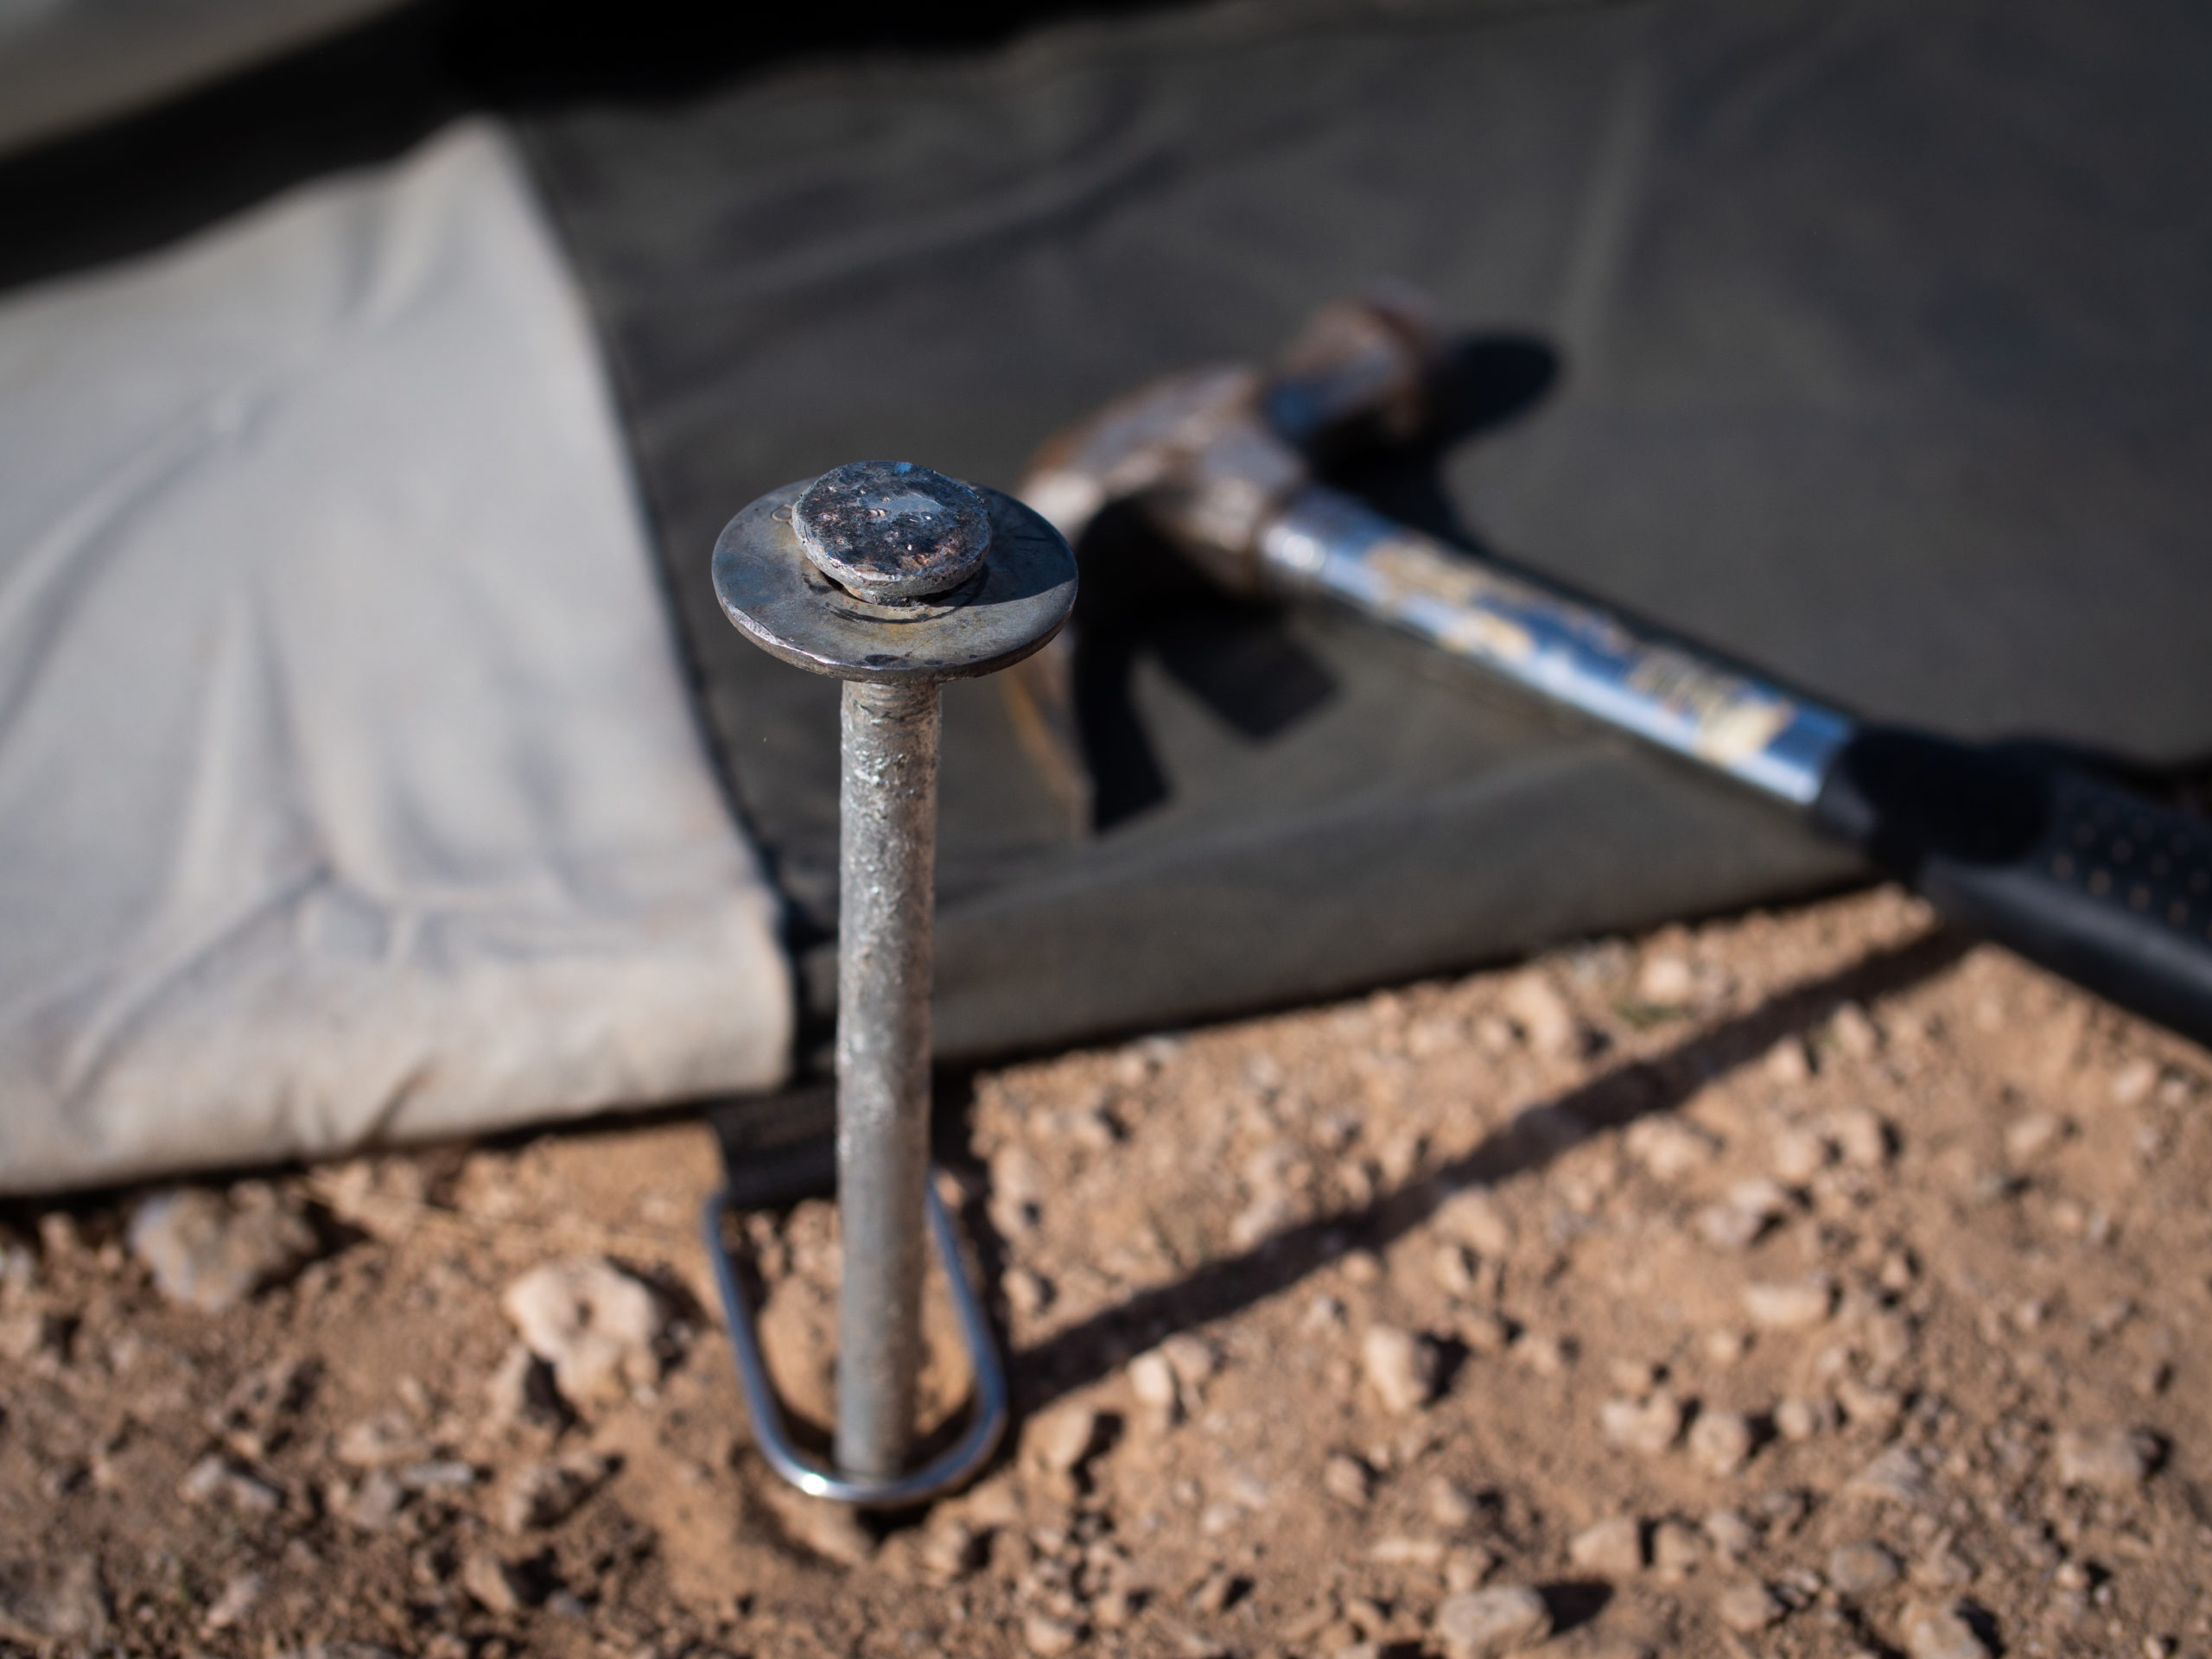
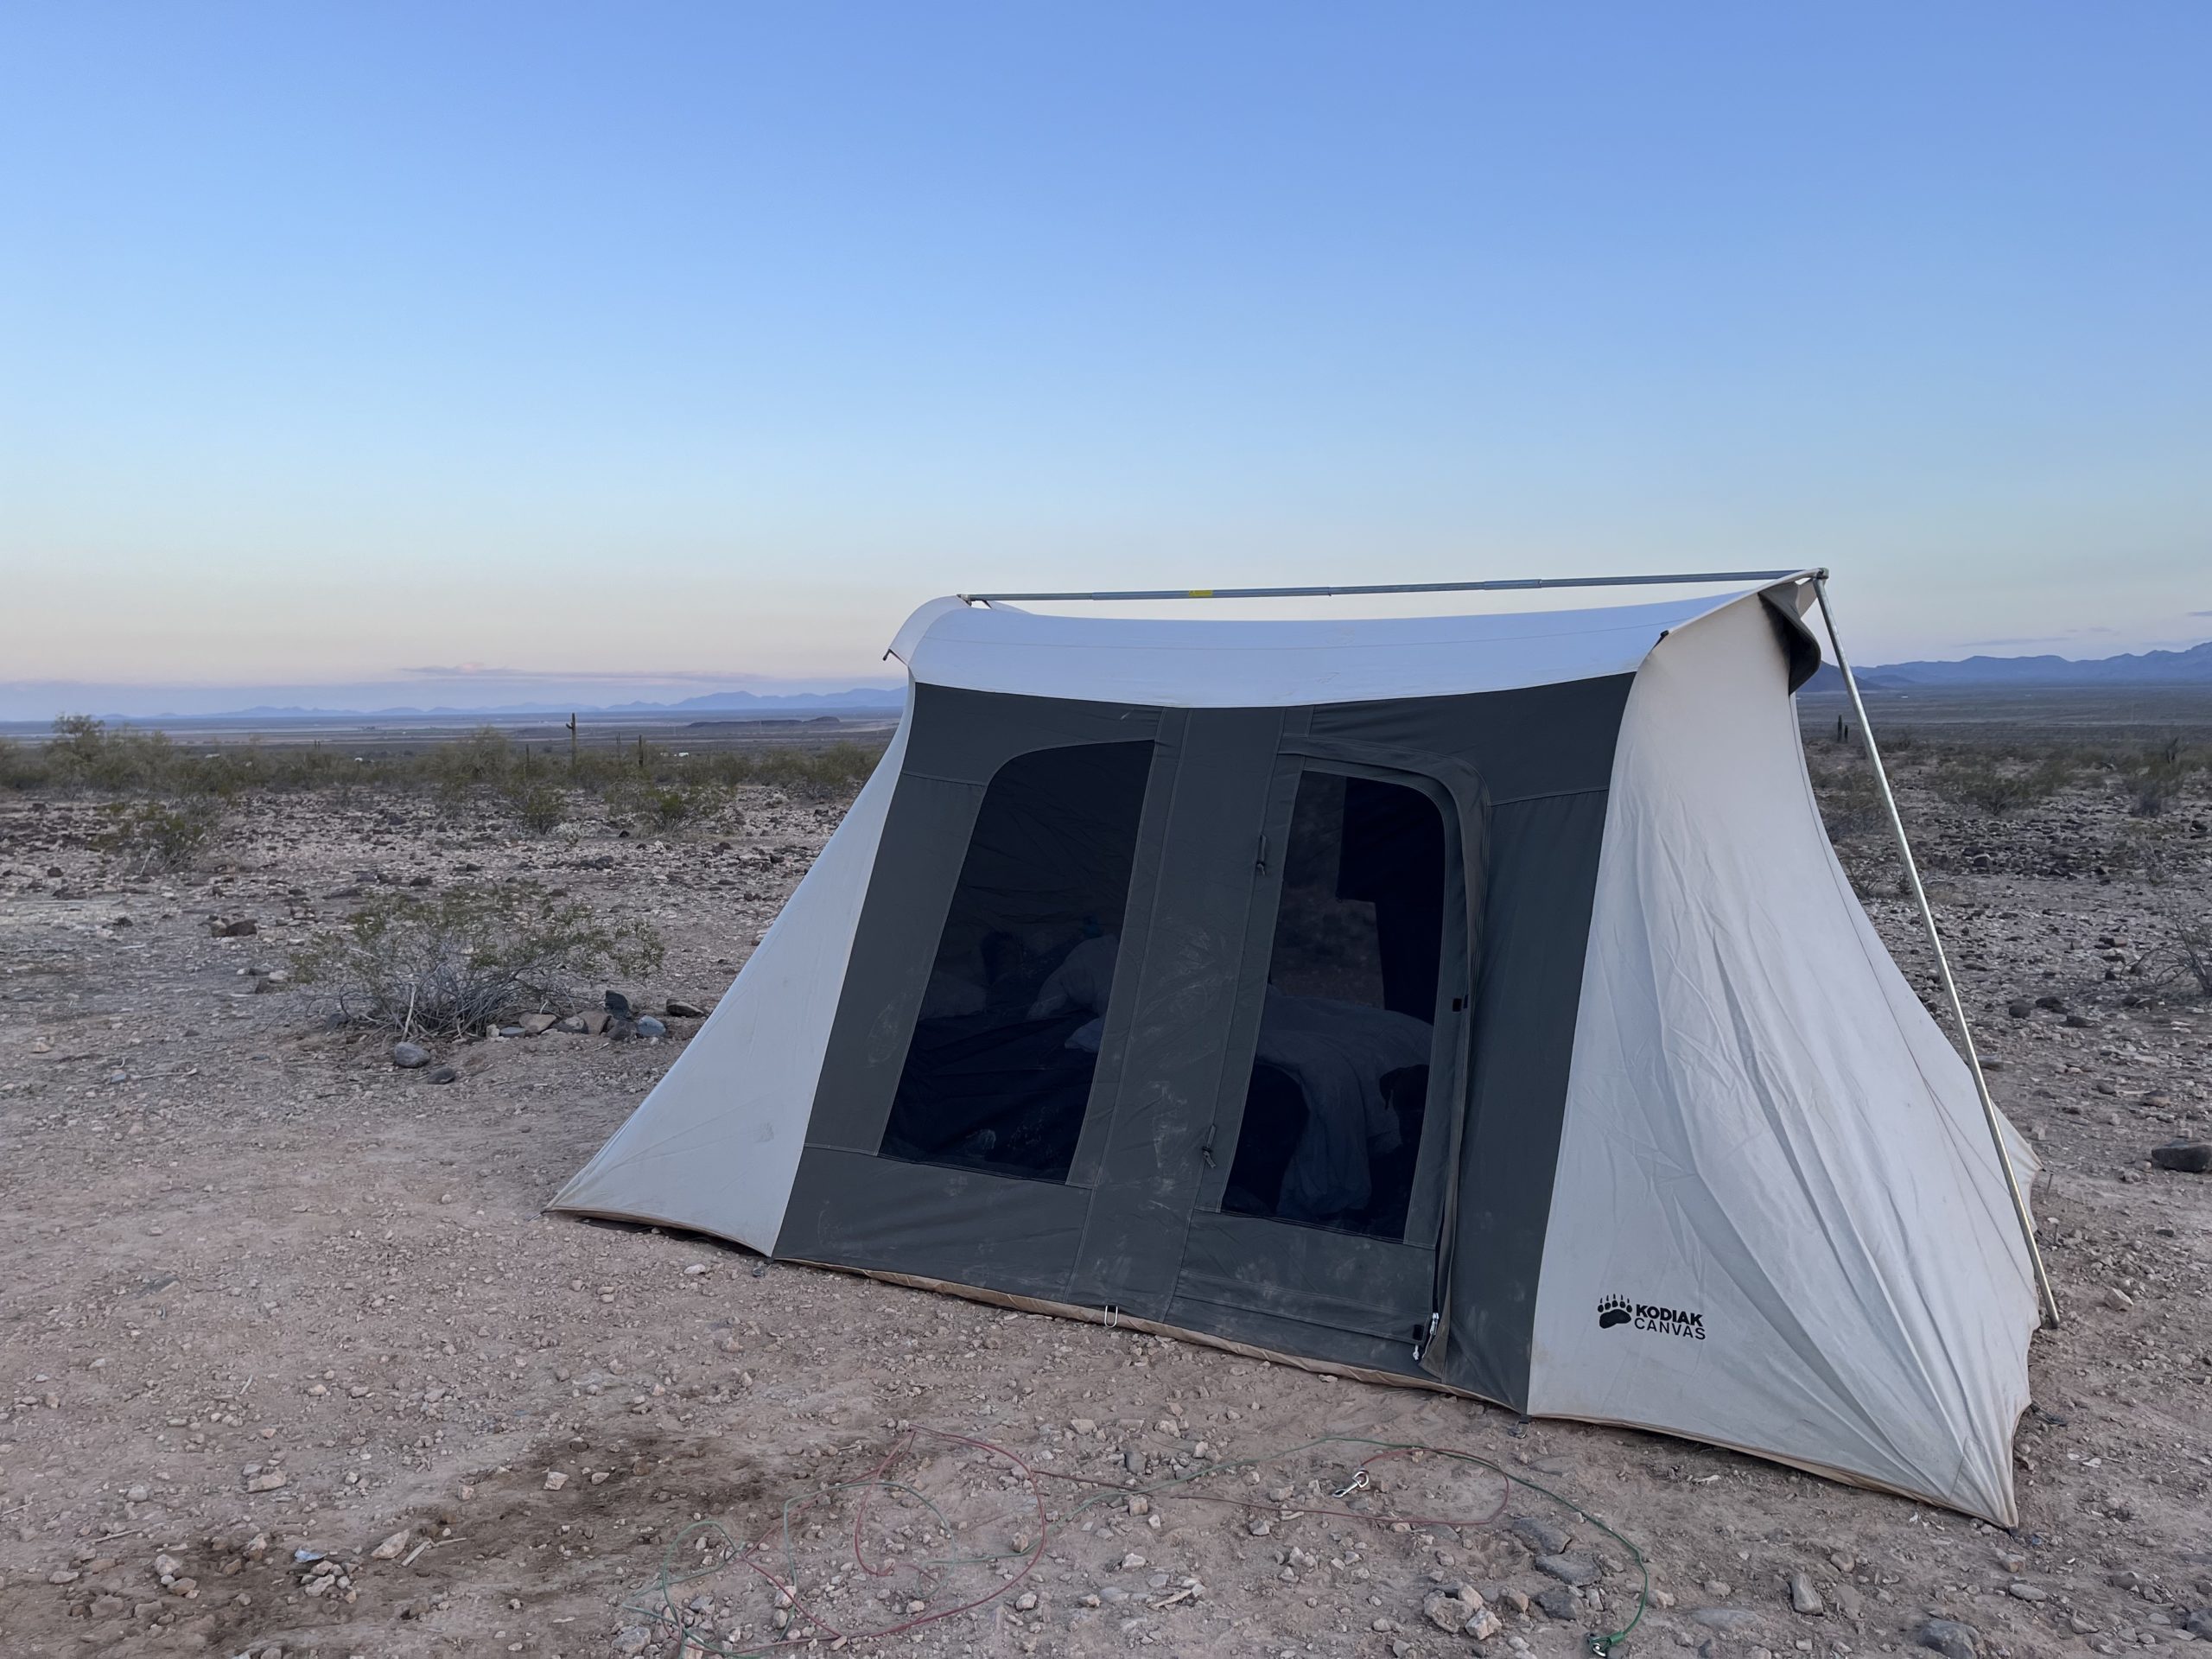
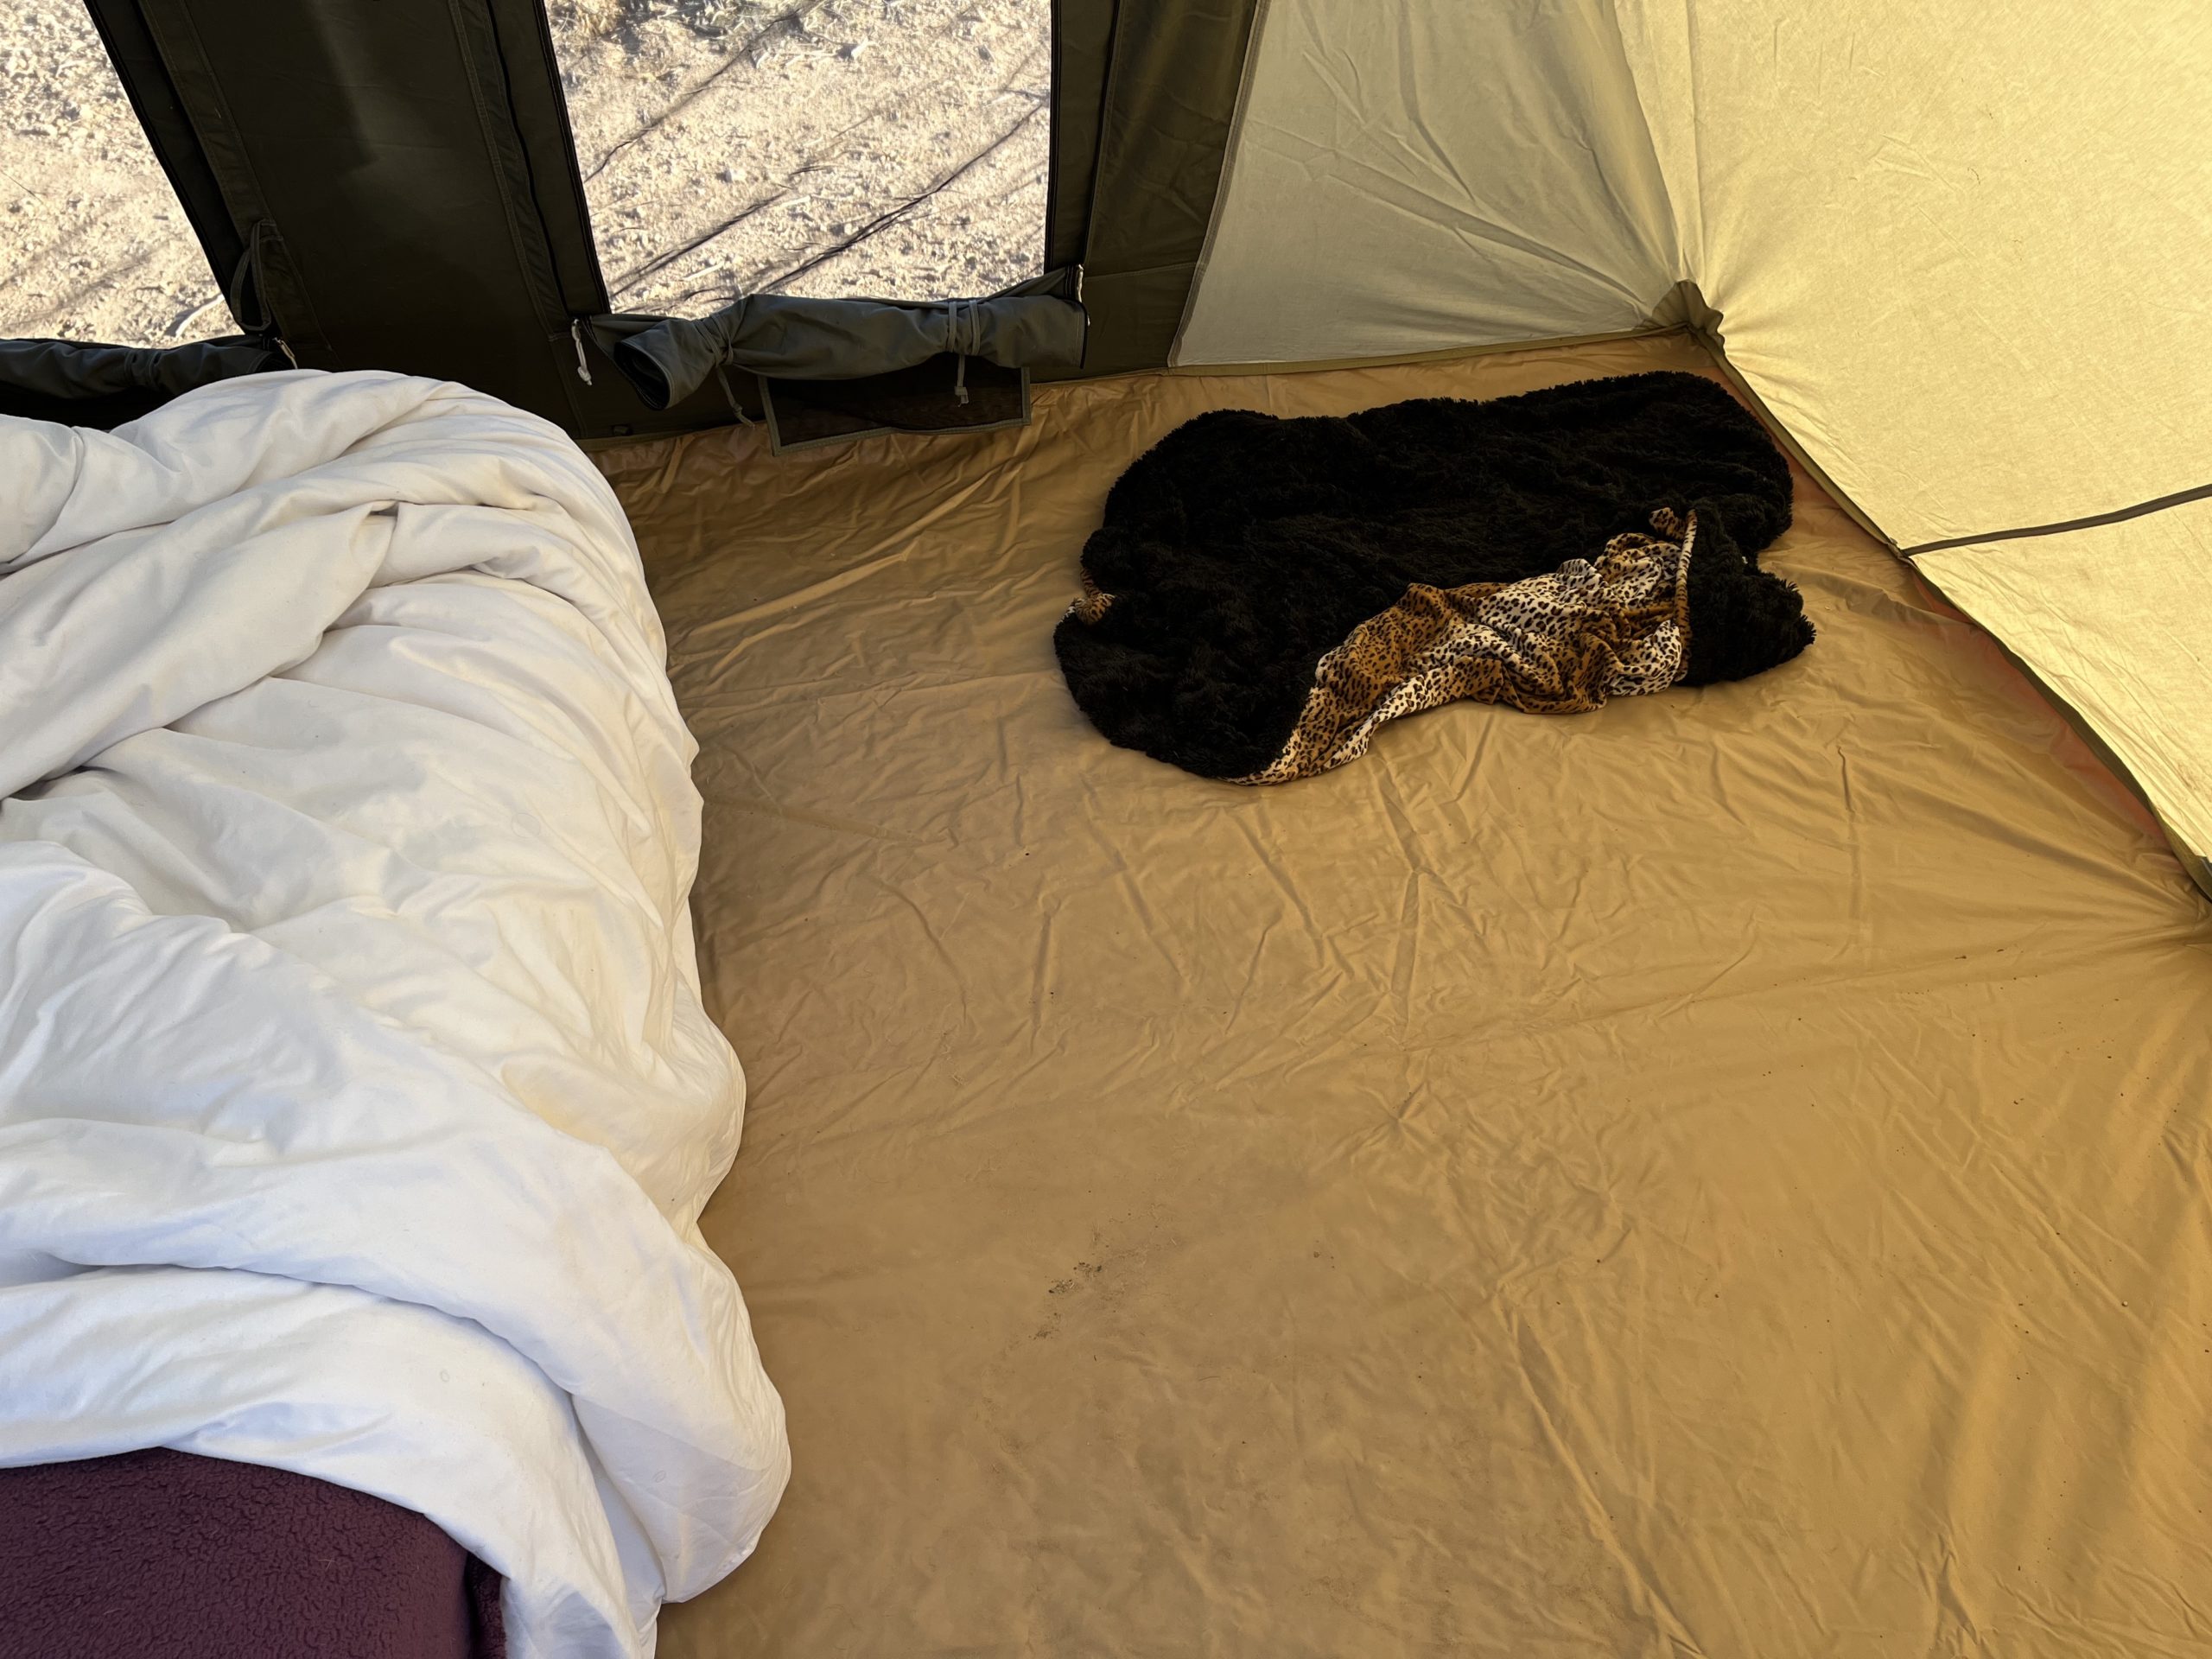
This cot is made for those who have space in their vehicle and in their tent.  If you have a large SUV or a pickup truck with plenty of room, having this along on the trip is a great amenity.  If you are tight on space, stick with a regular inflatable mattress on the floor. A large tent like the Kodak Canvas Flex-Bow 10’x14′ tent is a perfect vessel for this large airbed.

That being said, the carrying bag is a great accessory.  The folded bed frame, deflated mattress, side tables, and pump all fit nicely inside without having to tug and stuff like other products’ carrying solutions (I’m looking at you, pop-up tent). A zipper running much of the length of the top of the bag allows for great maneuverability when packing the cot away.

Set up:

Coleman Queen Airbed Cot Frame

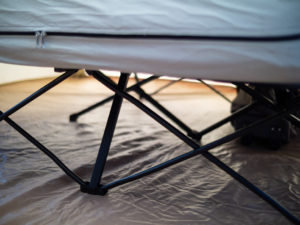
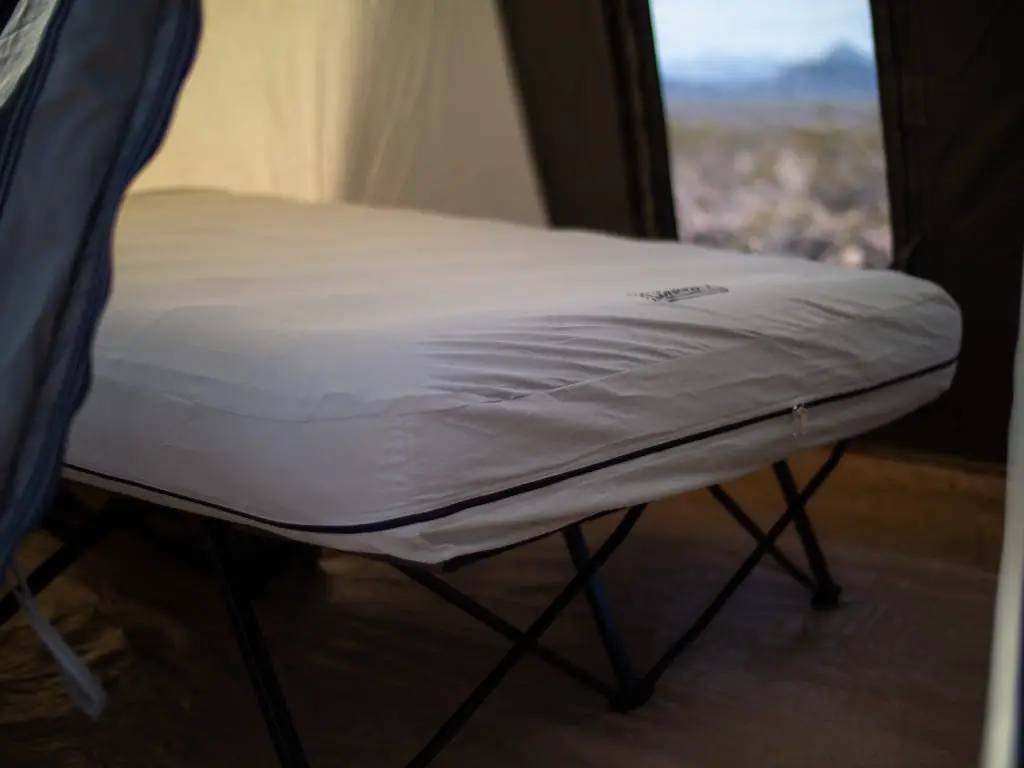
During testing for our Coleman Queen Airbed Cot review, we found that the setup of this cot is easy, though awkward.  The bed frame is well designed and neatly folds in on itself to minimize the packing space required to stow. Unfolding the frame is a one-man (or woman) job, but if you have an extra set of hands to help, it’ll save you some initial awkwardness.

The included queen air mattress is separate from the frame.  Once inflated, the mattress slips into a zippered pocket mounted to the top of the bed frame.  Like the zipper of the packing bag, the zipper of the mattress pocket is large and unzips a long way giving you plenty of room to slide the mattress inside without trouble.

The included air pump (which requires 4 D batteries that are not included) inflates the mattress easily. The pump is nice to have along in the carrying bag, but we recommend making sure to bring some spare batteries along 0 just in case.

Coleman Queen Airbed Cot Side Table

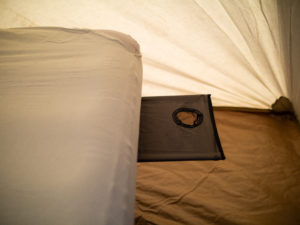
Finally, the optional side tables are a nice touch.  Like the frame, the side tables fold in on themselves to save space when packing away. Set up is as easy as unfolding the side tables, locating the appropriate slots on the side of the bed, and placing the tabs of the tables into the slots.  The cupholders in these tables are great and the tables seem sturdy enough for small items (think keys, phone, flashlight, etc), but due to the simple attachment point on the bed frame, I would caution against resting anything too heavy on these.


Comfort:

Compared to a sleeping bag on the ground or a thin mattress pad, sleeping on this is heaven.  I am a big believer that camping should be comfortable – a doctrine that my wife and kids fully agree with me on.  Camping should be about enjoying the outdoors – the fresh air, the multitude of stars, quiet, and solitude – not a sore back and awful sleep.  The Coleman Queen Airbed Cot makes sleeping in the outdoors easy, enjoyable, and comfortable.

In true Goldilocks-style, the air mattress was just right for us – not so soft that you roll into the person next to you all night, but not so hard that you can’t get settled sleep.  Again, considering the alternatives (ground or thin sleeping pad) this mattress is something to look forward to on your trip outdoors.

Coleman has a bunch of different trademarked names for the elements that ensure this mattress’s comfort:

  • AirTight® – apparently tested at the factory to be leak-free
  • ComfortStrong™ – a coil system that provides better support for all-night comfort
  • Double Lock™ valve – a leak-free dual-sealed valve

We did not have any issues with deflation in our multiple-night test of this mattress.  It stayed properly inflated and comfortable without having to add air throughout our trips.

Coleman Queen Airbed Cot Inflated with Zipper

One of the best aspects of this airbed cot is its 22 inches of height off the ground.  It can be difficult to get up from a rough night of sleep on the ground while camping.  A sore body (especially in chilly temperatures) can make getting up out of a sleeping bag a chore even for the young and nimble. The Colemen airbed cot feels just like you’re getting in and out of your bed at home.  The ability to slide your legs over the side of the bed in the morning to sit up and get your bearings makes for a much more pleasant experience.  The height of the cot also makes for a quick seat when putting on shoes and socks – a simple pleasure, but nice nonetheless.

Finally, the best part of this airbed is the Queen sizing.  Gone are the camping trips to beautiful locales capped off by a fireside snuggle with your partner only to both retreat to separate (and uncomfortable) sleeping arrangements.  The size of this airbed allows the snuggling to continue through the night if you so choose.

The only real issue we (and others online) have experienced with this airbed cot is that the mattress can be loud when moving around. Having read other reviews before purchasing, we knew this was a concern beforehand, but it hasn’t bothered us too much.  To be sure, each movement does come with a corresponding “vinyl-sliding” sound, but it’s not too loud, and the comfort of being on an elevated inflatable cloud while camping is well worth it.

Durability:

Like most things, the durability of this airbed is related to proper care and usage.  The steel frame is sturdy and the joints don’t seem to warrant too much worry. The pocket the mattress fits into is a thin material and while we didn’t have any issues, I could see small tears or wear spots potentially being an issue with a lot of use.

The big question with durability is the air mattress.  The air mattress that comes with the Coleman Queen airbed cot is certainly made of thicker material than a cheap air mattress picked up a Walmart or Target, but air mattresses typically don’t last forever.  While the air mattress is the most important part of this cot (especially with fancy marketing features such as AirTight®, ComfortStrong™, and Double Lock™), any replacement queen-sized air mattress should fit into the mattress sleeve on the frame.

If you camp a handful of times per year and use this cot occasionally indoors for houseguests, it should last for many years without issue.  The carrying bag allows all the included items to be properly and safely stored while protecting the contents from the elements.  Take care of it and it will take care of you.

Value:

The Coleman Queen Airbed Cot is expensive when compared to most camping sleep solutions. Though Coleman lists its price at $219.99, as of this writing, it can be purchased for less on Amazon.

The value of this airbed is measured by its convenience and comfort.  If it helps you get outdoors more often, avoids the backaches, and gives you the opportunity to share a bed with your partner – it’s well worth the cost in our opinion.

Looking for a tent with plenty of room for this Queen Airbed Cot? See our recent review of the Kodiak Canvas Flex-Bow Tent.

Review: Kodiak Canvas Flex-Bow Tent

The Verdict:

The Kodiak Canvas Flex-Bow Tent is the last tent you will ever buy. It’s solidly built with materials that will last for years (most likely decades). Despite its size and robust materials, it is easy to set up and take down. Various size options will allow you to pick the tent that fits your needs with room to spare. The waterproof canvas breathes well and insulates better than a typical nylon/poly tent. Read on for our full Kodiak Canvas Tent Review.

Build Quality:

The Kodiak Canvas Flex-Bow Tent is a canvas tent.  For those who have never camped in a canvas tent, it’s like camping was supposed to be. This tent reminds you of a ’70s summer camp but with design and engineering that make it amazing.

Kodiak Canvas tents will last a lifetime IF properly cared for and maintained.  Proper care and maintenance should be recommended practice for all tents, but most people who buy a cheap poly tent from a big box store expect the tent to last a few seasons before it will be replaced by another cheap poly tent.  The Kodiak Canvas Flex-Box tent is in another category of tent built for those who want to invest in a quality tent that won’t let them down.

The build quality of this tent is probably best illustrated in its weight.  With heavy-duty materials all around, the 10×14 flex-bow test we tested weighed 80 lbs.  So this is NOT a backpacking tent.  This is a tent you pack in your car and live like a king in the outdoors – possibly for weeks at a time. Having been in some sketchy weather situations while camping in the past, the flex-bow won’t give you anxiety worrying about if the tent will hold up.


Set Up:

Unpacking the Kodiak Canvas Flex-Bow TentThe setup process for these tents is different than your average tent, but it’s not overly complicated. One of the biggest concerns about Kodiak Canvas Tents is that they take more time and hassle to set up. The truth is that the Kodiak Canvas Flex-Bow Tent takes about the same time to set up as your average nylon/polyester dome tent. In our experience, the Flex-Bow Tent can be set up by only 1 person in under 10 minutes.

The secret to a smooth setup is to set this tent up in your yard to become familiar with the parts and the process.  Kodiak Canvas suggests doing this before your first trip along with lightly spraying the assembled tent with water and letting it air dry to “season the tent”.  According to Kodiak Canvas, this seasoning process causes the canvas to shrink slightly, closing needle holes where the canvas was stitched.

The flex-bow roof is the most impressive part about this tent.  The flex-bow frame keeps the roof taut to better repel water and to improve sturdiness.

Kodiak Canvas Flex-Bow Tent Custom StakesOne important thing to mention about the setup of this tent is that it it not built to stand on its own.  It requires placing stakes around the entire perimeter of the tent before the tent is raised to maintain its proper shape and structure.  This is by far the most time-consuming aspect of the set up process, but properly staking the base of the tent helps to give it durability against any wind and snow you may encounter.

Size:

The Kodiak Canvas Flex-Bow Tent is available in 4 sizes:

  • 8.5′ x 6′ – 2-person capacity
  • 9’x8′ – 4-person capacity
  • 10′ x 10′ – 6-person capacity
  • 10′ x 14′ – 8-person capacity

These tens include a lot of headroom and will allow most people to stand without issue.  The 10×14 and 10×10 sizes has a roof height of 6’6″ while the 9×8 and the 8.5×6 have heights of 6’1″ and 4′ respectively.

This tent is also available in 3 versions: Basic, Deluxe, and VX.  Differences between the version can be seen on this table from Kodiak Canvas. The Deluxe includes 2 large additional windows, a gear loft, a pocket organizer, 2 small roof vents, and an upgraded carrying bag. The VX version includes 2 additional triangular windows on the ends of the tent along with everything else from the deluxe model (except the roof vents).  Not all versions are available in all sizes.

Kodiak Canvas Tent Review
Interior View of the 10’x14′ Kodiak Canvas Flex-Bow Tent

Comfort:

In our Kodiak Canvas Tent Review, we tested the 10’x14′ Deluxe model.  Our family of 4 and our two dogs slept comfortably in this tent with room to spare.  With 4 sleeping bags arranged along the tent walls, we still had open space in the middle to allow us to move around in the tent.  The 10’x14′ tent certainly could sleep 8 people as Kodiak Canvas suggests, but like most maximum tent ratings, you would only want to have this many people in this tent if it was necessary.

The canvas breathes well – we had no problems with condensation in this tent – but it also felt warmer than our nylon/poly tents in our 40-degree test conditions.  The 4 large (almost floor-to-ceiling) windows in the deluxe model give you a lot of control by opening and closing the windows to control airflow.

The no-see-um mesh window screens are well-made and are great at keeping the bugs out.  We had no trouble with bugs in this tent except for the times we left the door open for any length of time.

The white “flex-bow” ceiling allows for a nice diffused light to enter the tent once the sun rises.  This creates a welcome and subtle wakeup for early risers but could be frustrating for those who look forward to sleeping in when camping.

The detachable gear loft and pocket organizers provide some useful space to store items.  The gear loft extends over half the ceiling when deployed.  Multiple attachment rings around the top of the tent give you the ability to customize these items to suit your own needs.

Durability:

Kodiak Canvas Flex-Bow Tent Carrying BagsIt’s hard to know how long the Kodiak Canvas Flex-Bow tent will last, but it seems sturdy in every way.  The zippers work well and are protected by heavy external canvas flaps with velcro.

The tent includes a carrying bag made of thick, durable canvas.  Our deluxe model included an upgraded “Strap & Cinch” bag that makes packing this tent back in the bag easy as pie.  Properly stored in this bag, the tent is well-protected during storage.

Everything about is heavy-duty – making it a serious consideration for campers looking for a home in the wild.

Value:

The Kodiak Canvas Flex-Bow Tent isn’t cheap. The model we tested currently runs $699 on Amazon. But, the value is there.  This tent is super sturdy, can stand up to strong winds and snow, and is considered a 4-season tent. If you spend a good amount of time in the outdoors, this tent is a must-have.  It will make camping enjoyable and worry-free for the whole family. To top it off, this may just be the tent that you make memories with your kids and pass it down for them to make memories with the kids in.  It’s a tank.  It’s comfy. It’s camping in comfort and style.


Images:

Kodiak Canvas Flex-Bow Tent Custom Stakes


The Outward Overland Trailer

Restored 1968 Airstream Overlander Camping in Telluride, CO
Camping in our restored 1968 Airstream Overlander

5 years ago, I purchased and restored a 1968 Airstream Overlander Travel Trailer.  It was a LOT of work, but the finished product provided my family and I with a pretty killer medium for adventure.  We took some great trips in that Airstream and made some memories that we will all never forget. And, at least for me, the process of rebuilding the trailer from the ground up was fun and super educational about how RV systems worked.

We originally purchased the airstream with the idea that it would contain all of the gear necessary for a multi-day trip and that we could hook it up and go anywhere on a whim. After the trailer was ready for use, we quickly learned that our dream of it being the perfect camping vehicle was far off base.  First of all, it was huge.  Towing a 26ft trailer that weighs 6,000lbs isn’t something you do mindlessly.  Ensuring that you’re properly connected, all safety devices are in place and working correctly, and that the trailer is ready for travel takes time – usually over an hour – to feel confident that people and property are safe for the road.  Secondly, large travel trailers are not the most maneuverable vehicles, so proper planning had to be done far ahead of time to know that your destination could handle the size.  Finally, the trailer had a lot of great electrical systems on board – it was clearly meant to have power while being outdoors.  Locating sites that had available power took time and limited the locations to choose from.

Airstream Shell Sunset Reflection
One of the last pictures taken of the sunset reflecting on our Airstream before we sold it

The strongest feeling we had after a few years with the airstream was anticipated.  We missed being outdoors.  We would tow our shiny encapsulated tiny home for hours into the outdoors, only to feel as though we weren’t really in the outdoors.  For some, this is the point.  Having (almost) every luxury that home provides should make camping more comfortable.  But for us, we missed being more immersed in the elements.  We missed the sound of rain on the taut sides of tent.  We preferred cooking outdoors without worry of smoke filling the cabin of the airstream.  We wanted more living space than our airplane on wheels allowed.

So, a few years ago, we sold our airstream and started over.  We purchased a large and long-lasting canvas tent. We picked up a 3-burner outdoor propane stove. We bought a few canopies to give us various spaces protected from the rain – a screened bug tent and a 10×10 popup canopy. We even splurged on a queen-sized air mattress with a frame that’s raised off the ground.  With all our new gear, we were going to do camping right – at least by our standards.

Our new challenge quickly became apparent.  With all of this gear, how would we get it to the destination?  And how would we store it all in our already cluttered garage?

After some googling, I discovered the world of overlanding – vehicles (usually off-road ready) with camping setups that could be deployed far off the beaten path.  Having loved the free dispersed camping spots we had found with the airstream, I instantly connected with the idea of overlanding.  So I started searching for ideas on how to build my own overland trailer.  After watching hours of YouTube videos of DIY overland builds, I was growing excited about the challenge of building my own, but was hesitant to spend the time it would take during the build process. And summer was coming!

Then one day, I stumbled across a post on Offerup for a trailer that I thought could work well as a starting point for an overland trailer build.  The trailer was being used by a mobile auto-detailing business and I thought it was the perfect platform for what I had in mind.  So I bought it and brought it home.


The Outward Overland Trailer

The trailer I purchased was a lifted flat-bed trailer that had a 1966 Utility Body Company work truck bed mounted to it. Giving it 3 lockable compartments on either side of the trailer provided multiple blank canvases to build out the necessary systems.  On top of the 6 side compartments, a large front lockable compartment had been built along the front of the trailer and a 4′ x 1′ toolbox had been installed on the trailer tongue.  In all, the trailer came with 8 lockable compartments and had an open-air “truck bed” in the middle with a double-door tailgate at the back. To top it all off, the entire trailer was painted in a grey digital camo scheme that added some great character.

Overland Trailer Build Before
The mobile auto detailing trailer as we bought it

Over the past year, we have added a series of systems and components to make this trailer our basecamp when exploring the wild.  It’s not perfect and it’ll never be “done”, but it’s a constantly evolving hub that allows us to contain all of our needs when away from home in smart and creative ways.  It also can go further off the pavement and deeper in the sticks than most camping vehicles.  Below are the various systems and upgrades we’ve added to the trailer.

Electrical System

Our overland trailer has two 6-volt “golf cart” batteries wired in series for 210 amp hours of 12-volt power. For charging, it has a 120V 10amp battery charger when we have access to the grid and a 20amp MPPT solar charger with 180 watts of solar panels for when we don’t. We’ve installed a 1000watt pure sine wave inverter for the rare times we need 120v power on the go.  It also has a battery monitor to know exactly where our battery capacity (as well as input and output) is at any given time. The battery system is finished off with a switch panel with circuit breakers for the various systems that also includes usb and 12V DC “cigarette lighter” ports.

Overland trailer Electrical System
The batteries, solar charger, battery monitor and inverter switch in our overland trailer

Update: We’ve now added the GOLABS i200 Portable Power Station, a 256Wh LiFePO4 power station with a 200W pure sine wave inverter to the trailer.  It’s great for extending power to other campsite areas without the tether of an extension cord.  We can keep it charged by the trailer’s electrical system – either by utilizing a solar panel or by plugging it into the trailer’s inverter to charge.

Lid

We custom crafted a steel and fiberglass lid to cover the trailer bed and to protect our camping gear from the elements.  The lid is hinged on the front with gas strut lifts on the sides of the trailer to assist in opening and to keep it open.  The bottom of the lid has 3 rows of led strip lighting that illuminates the bed area of the trailer and provides campground lighting when open.  The lid is secured using 2 latch clamps that are lockable with padlocks. In the future, we’ll add a roof rack to the lid allowing for a planned shade awning, shower enclosure and rooftop tent.

Custom Overland Trailer Lid with lighting
With the lid raised, the led strip under lighting provides light to the campsite

Refrigerator

F40C4TMP 53qt 12V Portable Refrigerator in our Custom Overland TrailerIn our front left side compartment, we added a 53qt 12-volt refrigerator. We custom-built an aluminum tray for the fridge and mounted it in the compartment on heavy-duty locking drawer slides to both keep it in place when traveling and for easy access when needed.

To connect it to the electrical system, we use the included 12v DC cigarette lighter charger which plugs into a bed-mounted 12V DC outlet which is switched at the electrical panel.  With multiple compartments and ample space, this refrigerator has been a valuable addition to the trailer and allows us to cook using fresh ingredients when outdoors.


Water System

Water Heater and Outdoor Faucet on Custom Overland TrailerOur overland trailer’s water system is built around a 40-gallon water tank installed at the front of the trailer bed. In the right front side compartment, we installed a 12v 2.9 gallons per minute water pump that gives 50PSI of pressure to the system.

For hot water, we have a propane tankless water heater mounted to the back of the compartment door. The heater stows away neatly in the compartment when traveling or not in use.  For showers and for general water needs, we installed a faucet with a quick disconnect fitting made for RV use. We also plumbed hot and cold water to the kitchen on the other side of the trailer using PEX tubing and fittings.

Kitchen

By far the most complicated part of the build so far, our overland kitchen includes a deep rectangular sink with folding faucet, hot and cold water, 3 storage drawers and a slide-out countertop for food prep.

Made of baltic birch plywood, the entire kitchen is protected with flat marine-grade varnish to protect against spills and the elements.  The entire unit is on heavy-duty locking drawer slides.  For the space of one side compartment, we have a well-equipped kitchen that meets all of our needs.

Outdoor Kitchen on Custom Overland Trailer
Our custom-built outdoor kitchen slides out of the left rear compartment

Under Lid Storage on Custom Overland Trailer

Storage

Even utilizing compartments for the refrigerator, water system, and kitchen, we still have 3 compartments for storage on the sides of the trailer.  The front toolbox allows us to keep all of our tools and small miscellaneous gear secure. The main storage are is the area under the lid.  This storage area is 67″ long x 60″ wide and 26″ tall giving us ample room for all of our gear.  This space holds our Kodiak Canvas 10’x14′ Flex-Bow Tent, our Coleman Queen Airbed Cot, 3 awnings, 5 camping chairs, 2 extra water containers, multiple sleeping bags, mattress pads, and miscellaneous camping gear.  Since this space is locked and protected from the elements, we can store all of our gear here when we’re not camping and it becomes usable workspace when we are.


Roofrack

Next up on the upgrade list is a roof rack to take the trailer vertical.  We recently decided to purchase and modify this 800lb capacity truck bed roof rack rather than fabricate our own. We’ve received it, but have not yet had the chance to get it on the trailer.  We will be completing the installation in the coming weeks. The added height of the roof rack will allow us to mount an Overland Vehicle System 270-degree batwing awning to provide shade and cover over the kitchen and refrigerator area. Also from Overland Vehicle Systems, we’ll install a shower side room to the roof rack on the opposite side of the trailer that is close to the water system. Also under consideration for the roof rack is a rooftop tent.  If we end up going this route, it’s between the Smittybilt Overlander XL and the OVS Nomadic 3 Extended tents.

Conclusion

Our Overland Trailer has exactly what we need and is laid out exactly as we want – because we are building it custom for how we camp.  The build process allows us to be deeply connected with our systems – if something goes wrong, we know how it’s built and can quickly identify the causes.  We miss our Airstream Overlander for sure.  It was a work of art that got our family out into the woods, but our overland trailer allows us to go further and on our terms.

As we continue to add and upgrade our overland trailer, we’ll post more in-depth details of what we chose, how we did it, and why.  We’ll also be creating a series of more in-depth articles for each of our trailer systems to help those looking to do something similar. Stay tuned and check back often for more.

Gallery

Water Heater and Outdoor Faucet on Custom Overland Trailer
Under Lid Storage on Custom Overland Trailer
Outdoor Kitchen on Custom Overland Trailer
Outward Overland Trailer Build Before
The Outward Overland Trailer As We Bought It