Choosing the Right Solar Panels for Your Off Grid Solar System
Solar technology really is amazing science. We can harness the energy potential in the sun’s rays to power our life – without the need to be connected to the electrical grid. For those who venture outdoors often, solar systems provide the ability to venture further from civilization without compromising on electrical luxuries. At Outward Spaces, we are advocates for removing any barriers that keep people from exploring the outdoors. Properly installed RV solar panels can help make your RV, van, or boat trips more comfortable for longer – and we’re here for it. Our “Off-Grid Solar Series” gives you the tools to design and build your own solar system for your off-grid needs.
Before purchasing any components for your off-grid solar system, it’s important to plan the design of your system. To help design your system, check out Part 1 of our Off-Grid Solar Series, “Designing a DIY Off Grid Solar System.” Once you have a general design plan for your system, we recommend conducting an energy audit to determine how much power your system will use – and thus how much power you’ll need to recharge your batteries. In Part 2 of our series, “Conducting an Energy Audit on a Recreational Vehicle”, we walk you through how to run an energy audit on your planned (or existing) electrical system.
Now that you’ve got a general system design in mind and you know how much big your system will need to be, it’s time to choose the best solar panels for your project. In this post, we’ll highlight some of the considerations to keep in mind when shopping for the perfect solar panels for your project.
How Many Solar Panels do you need?
Determining how many solar panels to add to your system can be a complex decision that deserves some careful thought.
If you are building a solar system for an RV, van, or boat, you most likely don’t need a solar system that will allow you to remain off-grid indefinitely. You’ll probably want to design your solar system to recharge a portion of your battery usage each day, thus allowing you to extend your trip when you’re away from the grid.
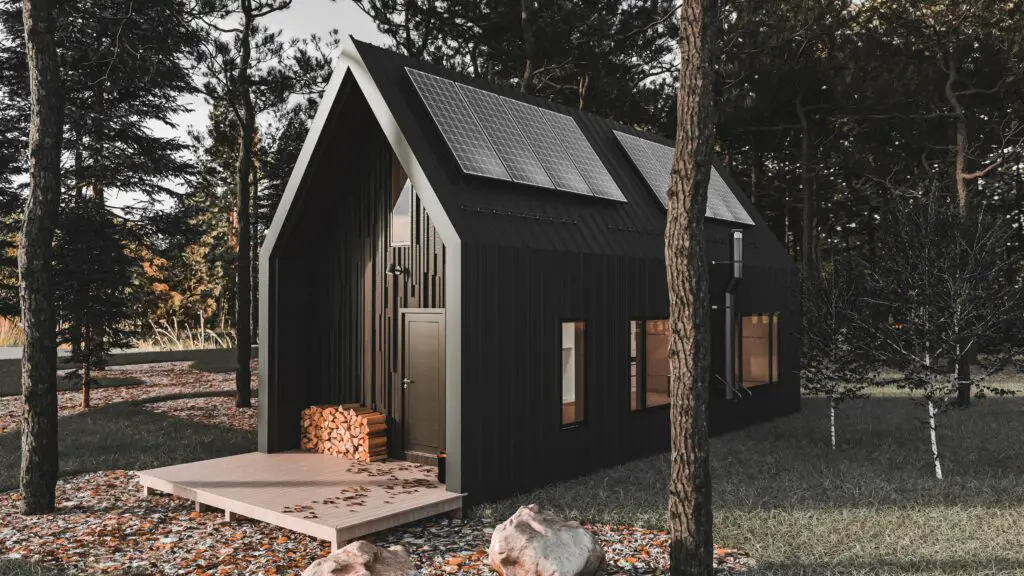
If you are designing a solar system for an off-grid cabin, you’ll want your solar system to be able to fully recharge your batteries each day. These types of systems typically include a larger number of solar panels and produce more watts of power each day than mobile systems.
How many Watts do Solar Panels Really Produce?
Solar panels are rated in watts. A 100-watt solar panel produces 100w of power from the sun… in perfect conditions. Solar panel manufacturers test and rate their solar panels in ideal conditions – full sunlight, optimal temperature, etc. The rating of a solar panel is what the panel CAN produce. In real-world conditions, most solar panels won’t reach this rating. When planning a solar system, we recommend expecting to get 75% of the watt rating of your solar panel. While you may often see more watts coming in from your panel (ie. 85 watts from a 100 watts panel), you’ll often see less. 75% is a conservative number that helps project how much power your solar panels will actually produce.
Your location in the world and time of year is also important to consider when calculating how much power a solar panel will generate. Different locations and different times of year differ in the number of “Peak Sun Hours” they provide. You can calculate your Peak Sun Hours online using this Peak Sun Hours Calculator. Your annual average peak sun hours should be added to your calculations when determining how many solar panels your system needs.
When designing our solar systems, we use the following formula to determine how many watts will our solar panels really produce:

As an example, if we were looking at adding 2 100-watt solar panels to an RV, we would start by taking the total panel rated watts (200w) and multiplying by .75 to determine. With a real-world projected rating of 150 watts, we then multiply that by the annual average of Peak Sun Hours in our location, Phoenix, AZ. So we multiply 150 by 5.78 (Peak Sun Hours in Phoenix) to get a total of 867 watts of projected daily solar production.
To convert this number to amp hours (Ah) to compare against your energy audit calculations, simply divide your projected daily solar production (in watts) by the voltage of your system – typically 12 volts. So if we divide 867 by 12, we learn that our 200w solar system should generate 72.25 Ah of power each day.

Define Your Solar Objectives
It’s important to decide the goals you have for your solar system. Will your solar panels need to recharge your batteries fully each day? Or will they just give you a day or two extra while boondocking?
For most RV, van, and boat applications, we recommend a solar system size that replenishes the amount of daily power you use on average. The data from an energy audit should tell you how much daily power you will use on average. Adding a solar system that matches this amount allows you to tailor your power usage to meet your needs. Need to make your batteries last for weeks? Reduce your daily power consumption by 20-30%. Only staying off-grid for 48 hours? Enjoy all of your electrical luxuries without worrying about running out of juice.
When sizing your solar system, defining your solar objectives will ensure you build the right solar system the first time – saving you time and money.
Consider Your Install Location
Your solar panels will need to be securely fastened to your RV, van, or boat to protect them from the elements and to make sure they will hold up over the years. The design of your vehicle’s or off-grid cabin’s roof may be a limiting factor on how many solar panels you can safely install. Before purchasing your solar panels, it’s important to measure and inspect your potential mounting locations to determine what type, size, and number of panels your vehicle can support.
Flat surfaces are best for installing solar panels as they give you the best variety of solar panels (both rigid & flexible) to choose from. Curved or round surfaces (think the top of an Airstream trailer) can also serve as great mounting locations for solar panels, but you’ll probably want to focus on flexible solar panels that adapt to the curve of your structure.
Some Examples
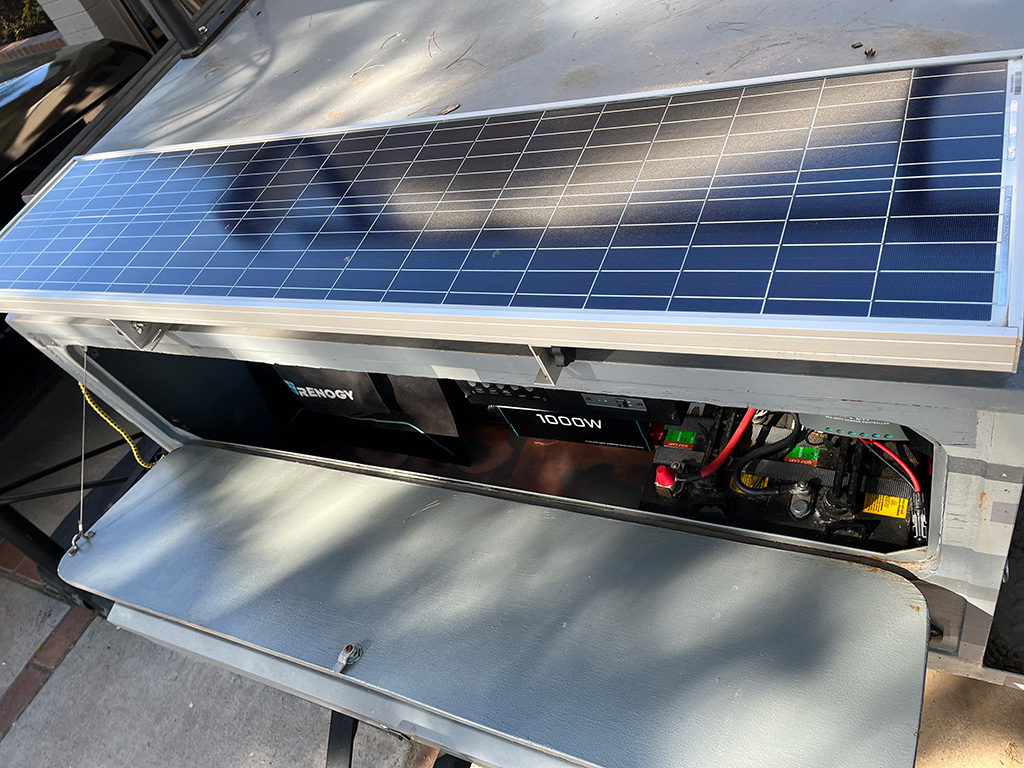
Our Outward Overland Trailer has a wealth of flat rooftop, but most of the area is shaded by our roof rack and roof rack accessories. As for viable solar panel mounting locations, the trailer only had a thin rectangular space that sits in front of the roof rack. This area, about 13in by 60in, didn’t give us enough room to place a typical 100w solar panel (20in by 40in). We found and purchased a “slim” 80w solar panel made by Solarland that measured 13.5″ by 58″. While it’s not a perfect fit, it’s the best option we can find to get as many solar watts into our system as possible. To add more solar, we purchased a portable 100w solar suitcase from Renogy that we can connect when needed and can “aim” as the sun moves throughout the day.
We recently added solar panels to a 46ft sailboat that was running out of power when away from the dock for a few days. Having no hard roof structures to mount solar panels to, we decided to add 4 100w flexible solar panels to the canvas bimini cover over the cockpit area. The bimini roof is made of soft canvas and its structure curves across the width of the boat. Rigid solar panels weren’t an option for us, but flexible solar panels handle the bends of the bimini perfectly.
Mounting Your Solar Panels?
When researching which solar panels to purchase, make sure to consider how you’ll mount your solar panels. Your RV solar panels won’t stay put when traveling or during high winds unless they are securely mounted to your rooftop. Planning how you will mount your solar panels will help better estimate your project cost and ensure your panels stay put for a long time.
If you are mounting rigid panels to a flat roof, aluminum mounting brackets like these are a perfect and easy addition to your project. The brackets connect to the underside of your panel and provide a flat surface with holes to mount to your vehicle’s roof. Brackets like these give you a low-profile look while also allowing for some airflow underneath the panel – something that most panel manufacturers recommend for cooling purposes.
If you are designing a system for an off-grid cabin, you may want to consider not mounting your solar array on your roof, but on a nearby pole mount instead. Mounting solar panels via a pole mount gives you the flexibility to have more panels than your roof may allow and they can be set at optimized sun angles that your roof may not provide.
You May Need to Get Creative With Your Mounting

With limited solar panel installation locations on our overland trailer, we chose to mount our single 80-watt panel using a Renogy tiltable mount which lets us adjust the angle of the panel to maximize our solar production. We keep our panel locked down flat when traveling allowing it to produce power while we’re on the road, but we tilt the angle once we get to our destination to get the most out of our panel.
When it comes to flexible solar panels that typically have 6-8 grommets around the edges for mounting, things can be trickier. The grommets can be used to screw down the solar panel directly to your roof, but without the recommended airflow underneath the panel. We’ve also heard about a lot of people gluing their panels down with RV roof adhesive to a round roof surface with success. For our sailboat bimini solar addition, we decided to try high-power magnets to keep our panels secure to the roof of our bimini. With 6 magnets (100ld holding strength) on each panel, our panels stay put even in high winds.
Rigid vs Flexible
When choosing whether to add rigid or flexible solar panels to your system, we recommend going with rigid panels whenever possible. Flexible panels should be considered when rigid panels can’t be mounted properly or when weight is a concern.
Rigid Solar Panels
Overall, rigid solar panels will give you the best performance. Rigid panels have been on the market for decades and have served as tried and true power-generating devices. They last longer than flexible panels, and are less expensive but are also heavier than flexible panels. Rigid panels are perfect for flat mounting areas but can be difficult to mount on surfaces that aren’t flat or can’t support the additional weight.
Flexible Solar Panels
Flexible RV Solar Panels shine when traditional rigid panels aren’t an option. Flexible panels can bend allowing them to curve around round roofs. They are also lighter making them better for installations where weight is a concern. Historically, flexible panels haven’t lasted as long as rigid panels and don’t perform on average as well, though as technology advances, flexible panels are getting better. In our experience, flexible panels have performed better than we expected, and believe that performance concerns are often more due to the creative installations of many flexible panels rather than their quality.
Choosing the right solar panels for your RV, van, boat, or off-grid home can produce power for your adventures for years to come. With planning and careful consideration, adding RV solar panels to your system can be done easily and relatively inexpensively. Make sure to do your homework before buying your panels though. Make sure you are getting the right number of panels and have a secure location to mount them. Once you install the right panels for your system, you’ll enjoy sitting back and letting the sun provide free power day after day – allowing you to enjoy the outdoors in comfort and extend your trips away from the grid.
View other articles in our Off-Grid Solar System Series:
- Part 1: Designing a DIY Off-Grid Solar System
- Part 2: How to Conduct an Energy Audit on a Recreational Vehicle